A while back in my Arch Linux installation tutorial, I mentioned that I would be eventually taking the time to make a simple guide to install and use Ventoy, since this is a much simpler process, it won’t be as long as the last tutorial, let’s get started:
Downloading Link to heading
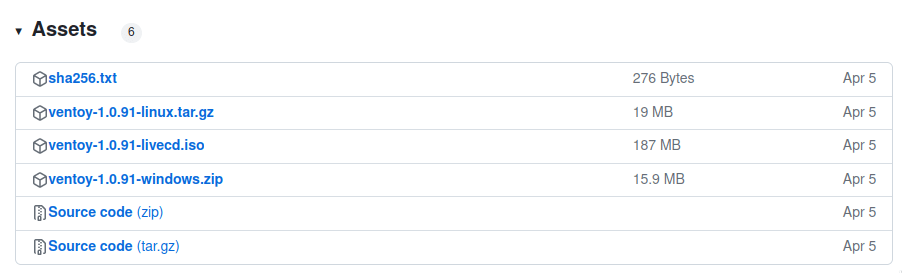
Head up to the releases section and download the package for your operating system:
Once downloaded, don’t forget to plug in the USB you intend to use for Ventoy.
Please remember to backup any important files within the USB as installing Ventoy will format and erase all the existing data.
Installation (Linux) Link to heading
If you’re on Linux, unpack the tar.gz file with tar -xvf ventoy*.tar.gz or use your GUI of choice, and open a terminal within the extracted folder, then run sudo ./VentoyWeb.sh, you should see something like this: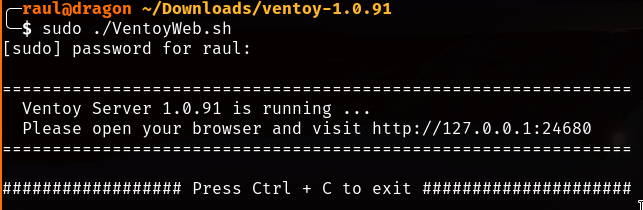
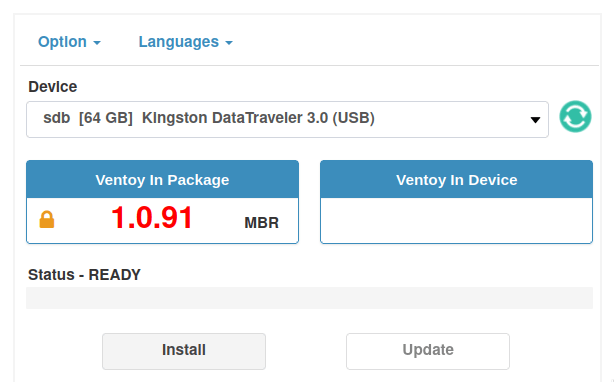

Ignore “VTOYEFI”, you’ll want to copy your .iso files to the “Ventoy” partition, and that should be about it.
Installation (Windows) Link to heading
Windows is a tad bit easier, when decompressing the .zip file you’ll just want to run “Ventoy2Disk.exe” and you’ll get a
window similar to this one: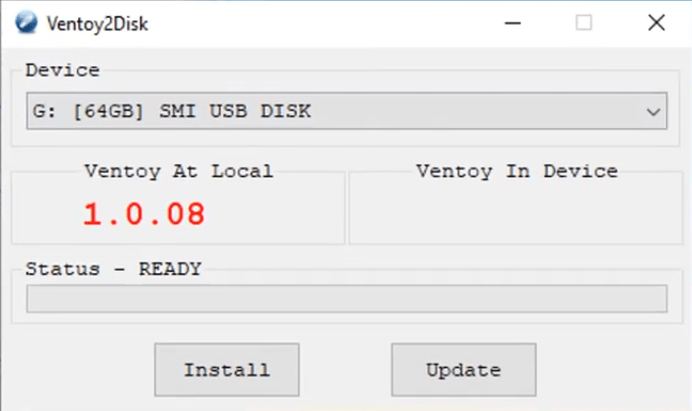
Finishing up Link to heading
The hardest part now will be booting into the USB itself, which implies figuring out the button for your computer brand’s BIOS, after you manage to reach the BIOS you’ll want to search for the option to boot off your USB drive, if when booting, you get a security error, you’ll want to first look for the “Secure Boot” option in your BIOS and turn it off.
Secure boot just prevents people from booting up any non-authorized Operating Systems off your computer.
Once turned off, give it another go and, if you did add a few .iso files already, you should see a screen similar to this: